If you wish to print labels for a group of products, but would prefer not to go into each individual item to do this, you can use a Wizard to help you complete this task.
1) In Cloud POS Back Office, click the Navigation Menu icon:

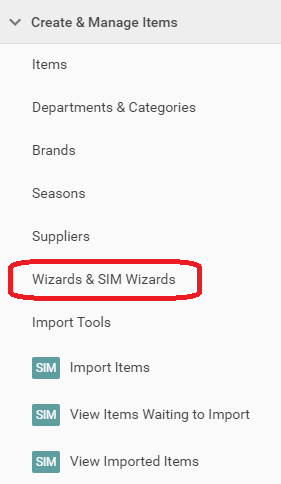
2) In the Create & Manage Items section, click on Wizards & SIM Wizards:

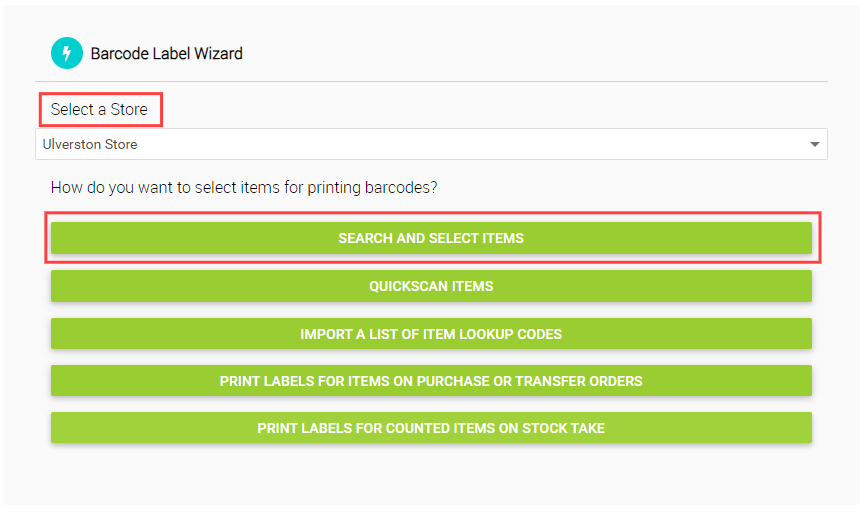
3) On the main Wizards screen, select the Barcode Label Wizard. Select a Store and then click the Search and Select Items button as below:

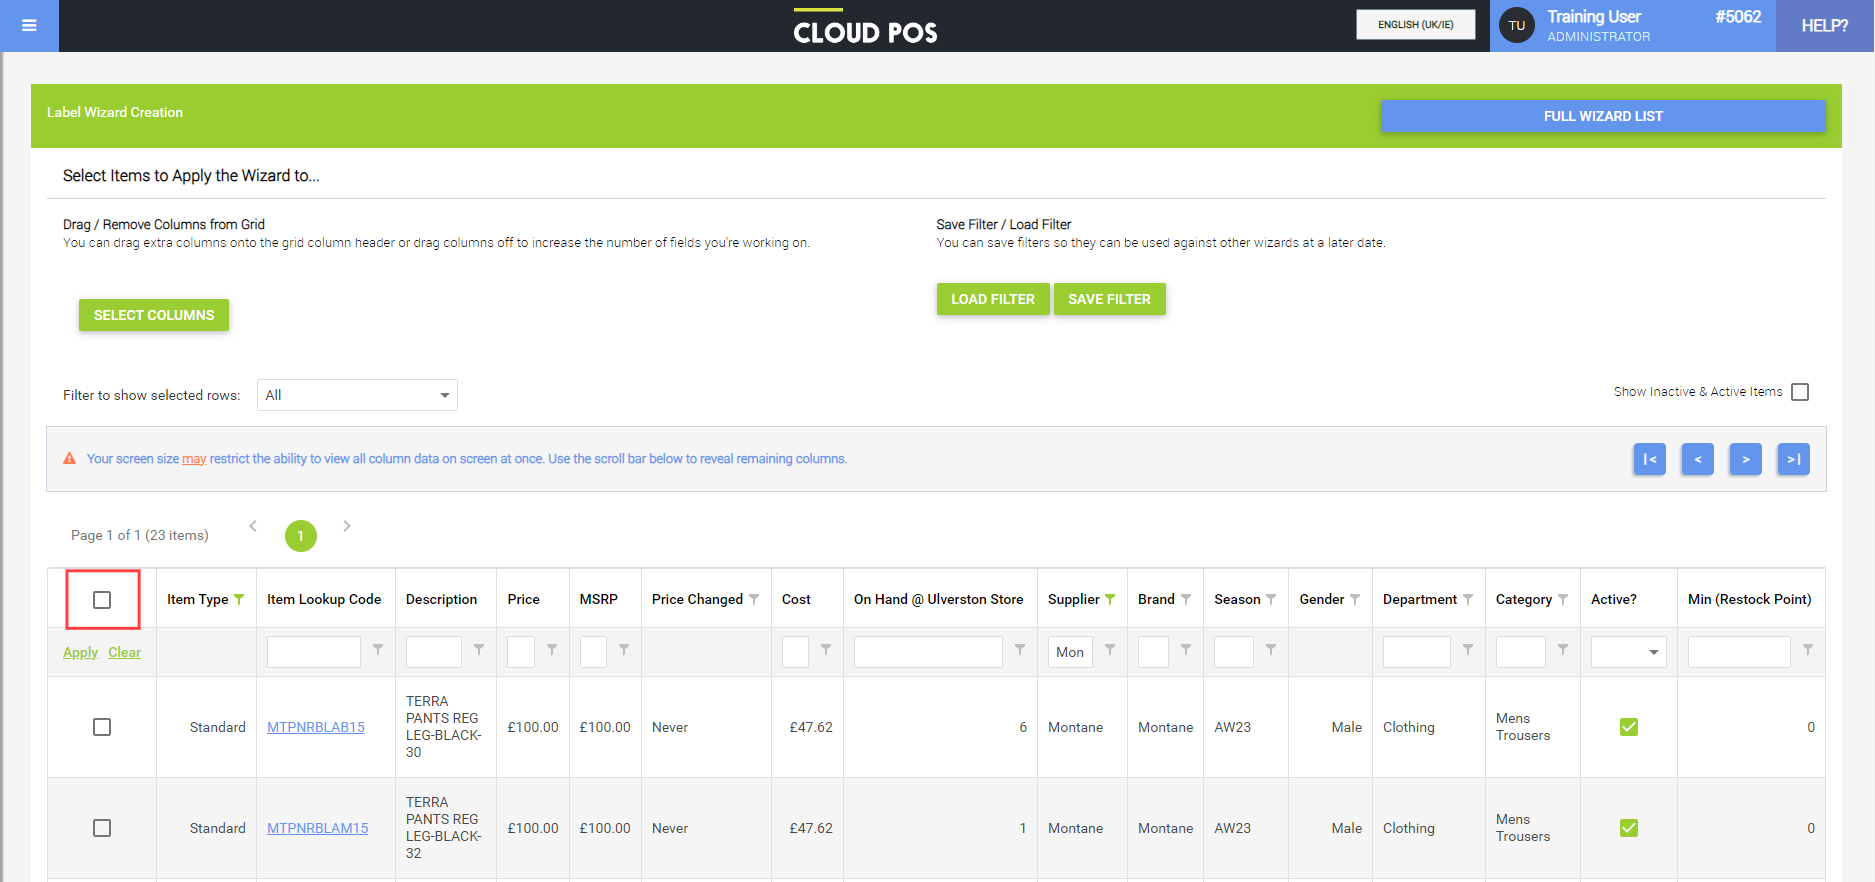
This will take you to the screen where you can use the filters to select the items for which you wish to print labels:

4) Use the filters to find the items you require, and then tick the box highlighted in the screenshot to select all the items. (Please note that only active items will show in the grid by default, but you can view inactive items using the tick box above the grid.)
You can also manually tick the box next to each line if you do not wish to add every item that is returned in the filter. If using this option, you can filter the search screen just to show the items that have been selected, so that the items can be checked before printing:

5) Once you have checked the items selected, scroll to the bottom of the page, and select the label printer from which you wish to print. Here you can select if you want to print labels to cover the stock on hand, or a fixed quantity. Make your selection and then click the Print Labels button:

Maximum label print quantities:
Please note, the label wizard will only print up to 100 labels per item, even if the stock quantity or requested quantity is higher than 100. To print more than 100 labels for a single item, multiple prints will be required.