This method of raising a purchase order allows you to order required items, based on sales between two given dates, which you can specify yourself.
1) Within the Cloud POS backoffice menu, select Purchasing & Transfers, then Purchase Orders;
2) From the purchase order grid, select New;
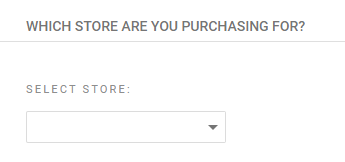
3) Select your store from the drop-down list:

4) Select the suppliers you would like to order from – you can select from one to all:

5) Under the heading Create A Purchase Order, select the option ...For all items sold between and then select the date range from which you want to replenish:
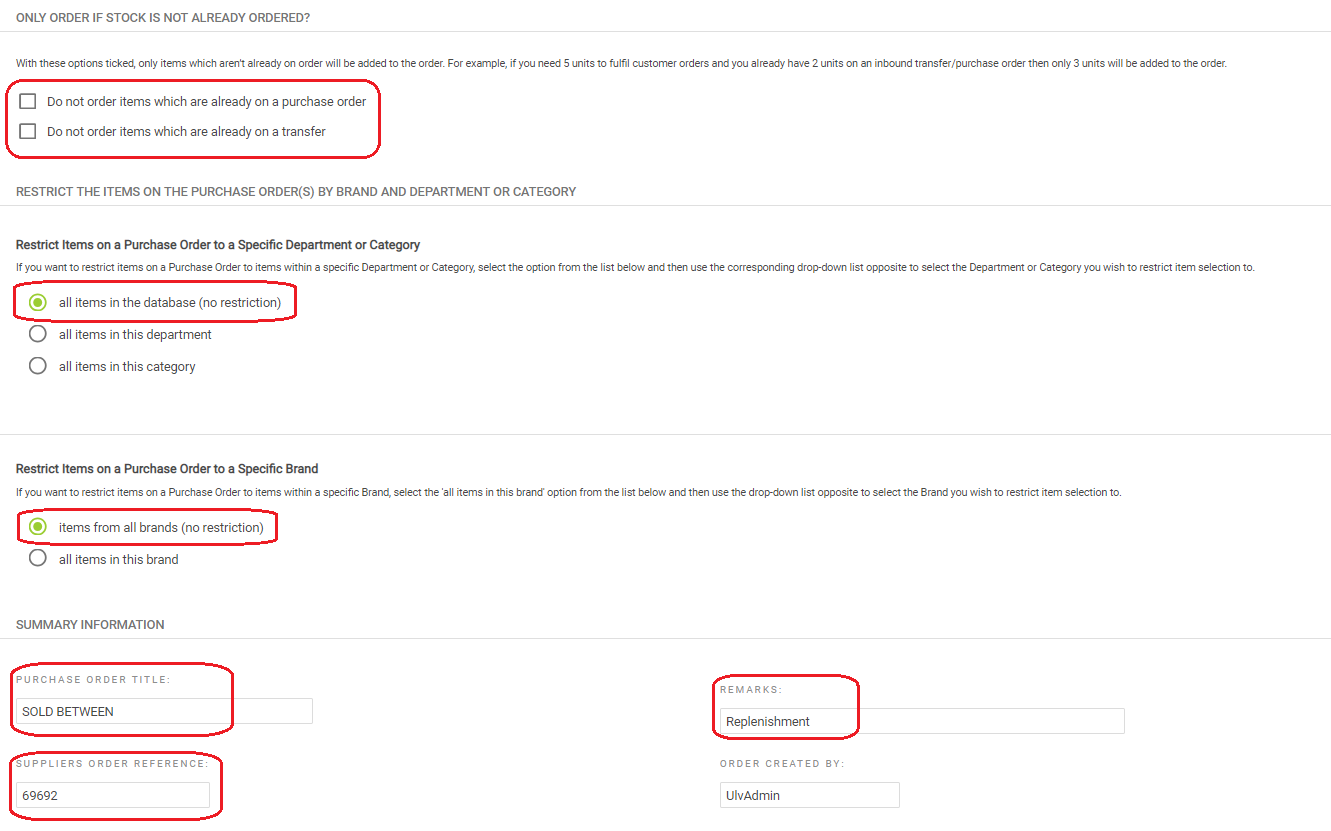
 6) Set any restrictions for the purchase order. In the example below, we are having no restrictions:

7) Purchase orders can be given; a title (this is mandatory), a supplier reference, and a comment. These are optional;
8) Once you have made your selections, click Create Purchase Order(s). One order will be created for each of the suppliers you specified at Step 4.
Viewing and editing a purchase order
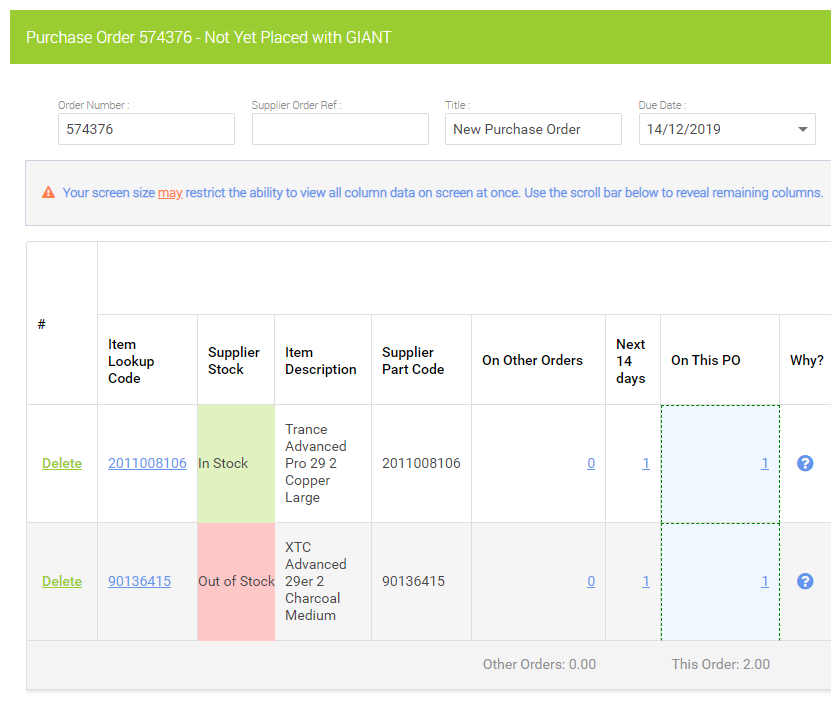
1) Once created, you can view the new purchase order(s) within the purchase order screen from the main menu, or using the quick link straight after creation:

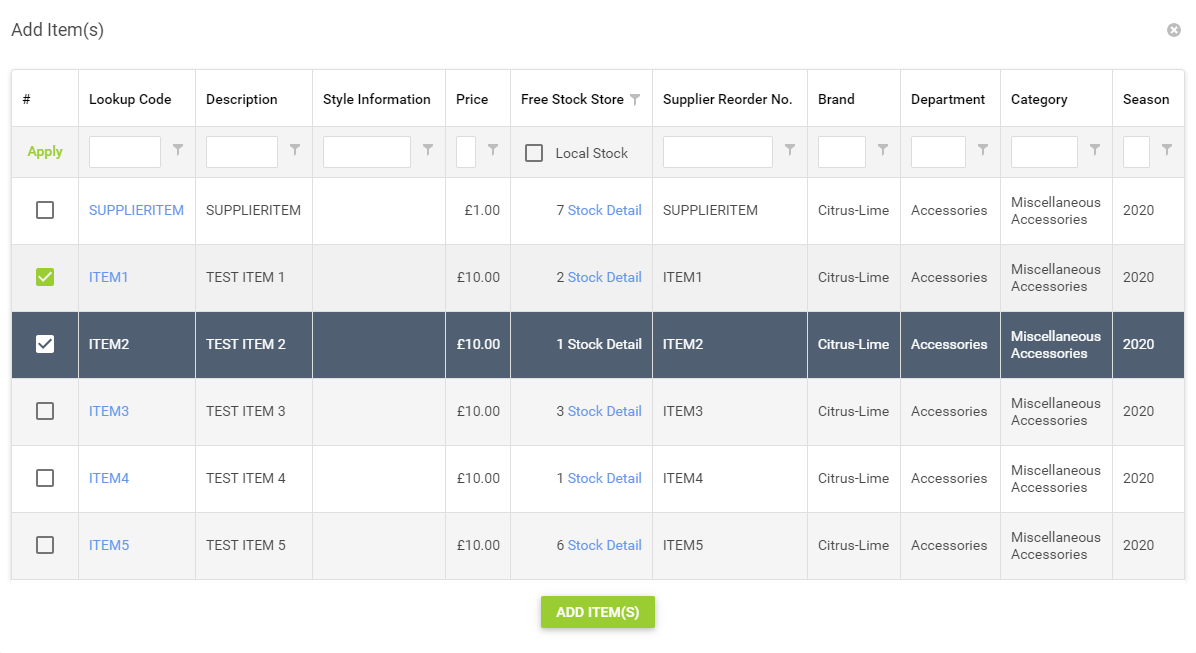
2) To add items to the order, click the Add Items To Purchase Order button. You can then filter to find the correct items. Select your items by ticking the selection box next to each item or click select all to add the full search results. Then click Add Items:

3) You can check the supplier stock, update quantity to order, see quantity on other orders and update pricing information for each of the items.

4) Once any required changes have been made, click to Save Changes and then Mark As Placed.

5) When the purchase order has been Marked As Placed, you will be taken back to the list of purchase orders. If you wish, at this point you can edit the purchase order again and use a quick link to take you directly to the Goods In area where you can book in stock.
6) From the purchase order list, use the filter options to locate your purchase order, then click Edit Items:

7) This will open up the purchase order. You will see the Mark As Placed button has now been replaced by a button marked Receive Stock. Clicking this button will open the purchase order at the Goods In stage, where you can then receive the items into stock.
