If you are using the customer account feature to offer account credit to your customers, you may periodically want to send out customer account statements. Within Cloud POS, you can view, print and email customer account statements at any time.
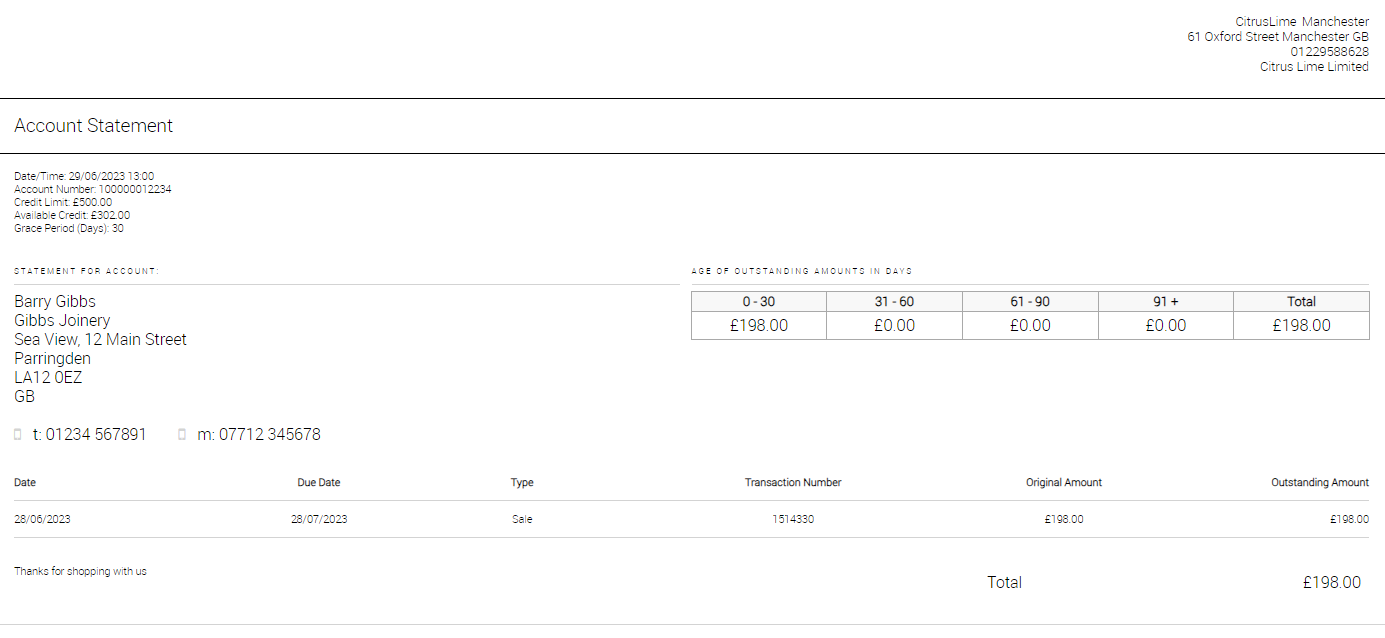
The statements produced will show the business address of the store associated with the Cloud POS cashier who is generating the account statements. If you have multiple stores in your Cloud POS group, this requires some consideration, since the address shown on the statement will be dictated by which cashier is creating the statements.
For example, let's assume Cashier A is associated with Store A, and Cashier B is associated with Store B. If Cashier A produces the statements, Store A's address will appear. If Cashier B produces the statements, Store B's address will appear. If you needed Cashier B to produce the statements but Store A's address to appear, for example, you would need to create a second cashier login for Cashier B, which was associated with Store A. See the related article on how to create a new cashier/user.
Printing a single account statement
Customer account statements can be printed for all customers with a credit account. This can be found on the customer's record within the back-office.
1) From the main menu in Back Office, expand the Customers heading, then click on Customers, and use the filters to find and select the customer you wish to view.
2) Double-click on the customer's record, then under the Account Transactions tab, click Print Account Statement.
You can use your print options to save as a PDF if you would prefer to email the statement to the customer. Then use your normal email to attach the file.


Viewing and printing all account statements
1) From the main menu in Back Office, expand the Customers heading, then click on Account Statements.
2) You can then select the option to View / Print All Account Statements. This will show all statements in a list view.

3) To print or save the statement as a file, right click on the page and select Print.
Email all or selected account statements
1) From the main menu in Back Office, expand the Customers heading, then click on Account Statements.
2) You can then select the option to email 'All Account Types' or use the drop down to select a specific account type. Once you've made your choice, click on Email Selected Account Statements.
This will then email a statement to each customer within the chosen account type, using the email address associated with their customer account.

You can print or email a Customer Account statement, even if there is no balance on the account. This allows you to provide confirmation of a settled account to the customer, should they require it.