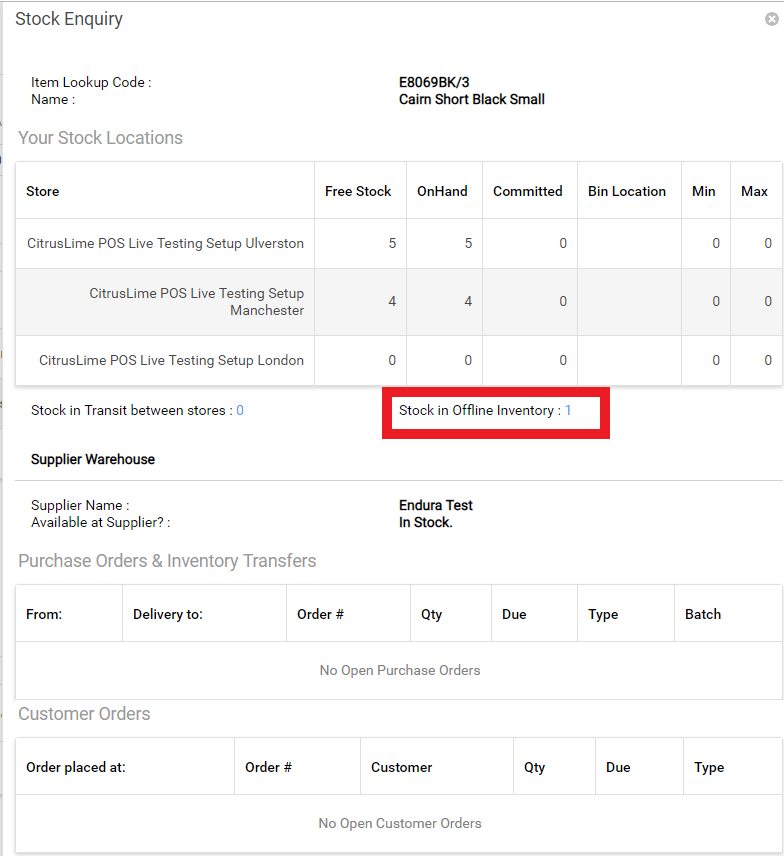
The offline inventory allows you to commit damaged / faulty and demo stock outside the main inventory, preventing these items from being displayed as available in-store and online.
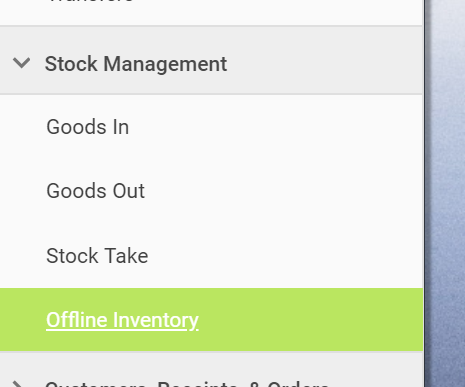
The offline inventory is located in the Back Office main menu, under Stock Management. Click here to open your offline inventory
NOTE: If you have a multi-store Cloud POS group, then you'll see a warning if you attempt to move stock to the offline inventory of a store you are not logged in as. So, if your cashier is assigned to Store A, and you attempt to move stock of an item that belongs to Store B, you'll see a prompt asking you to confirm you want to go ahead.
Manually adding items to offline
Within an item card, under the Inventory section, select Move Stock To Offline Inventory:
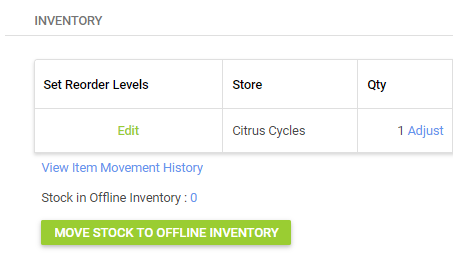
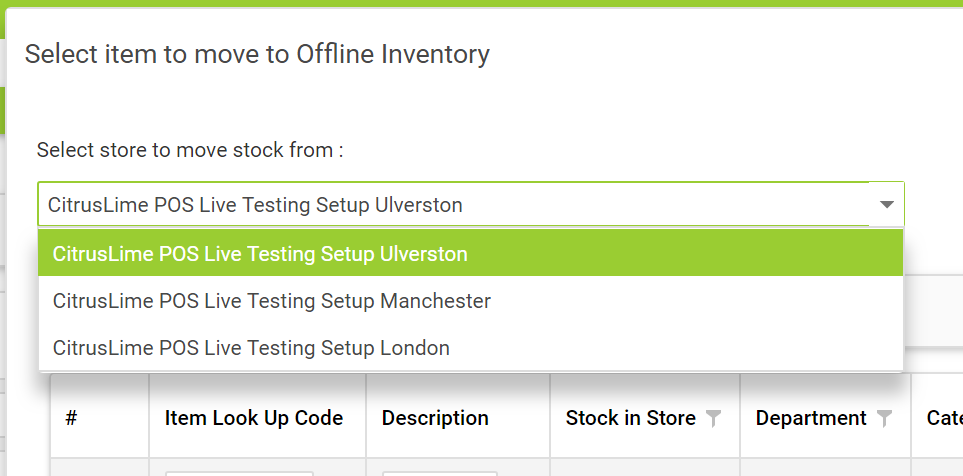
Then select the store to move the stock from and select Add Item To Offline Inventory:

An alternative method exists, which is described below:
Within the offline inventory page, select Add Items To Offline Inventory:
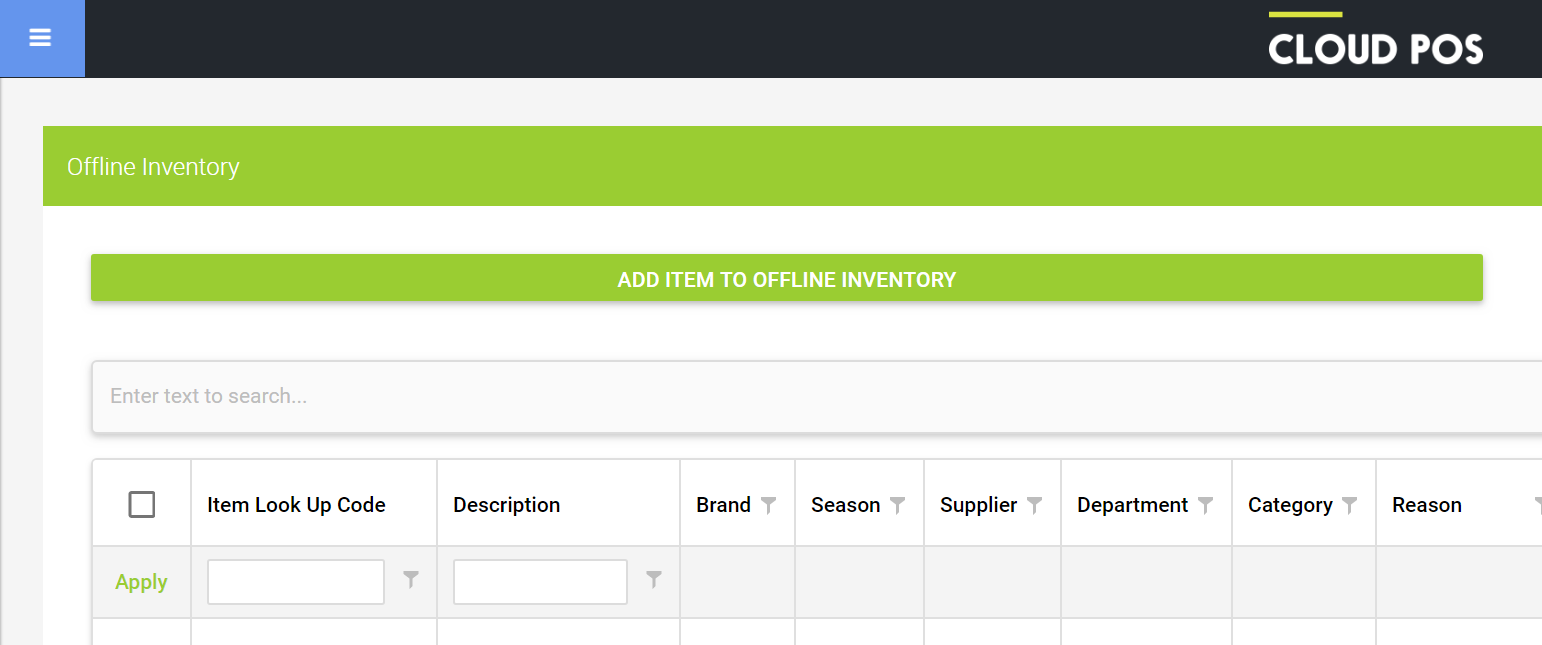
First, select your store. (this only applies to multi-site retailers):
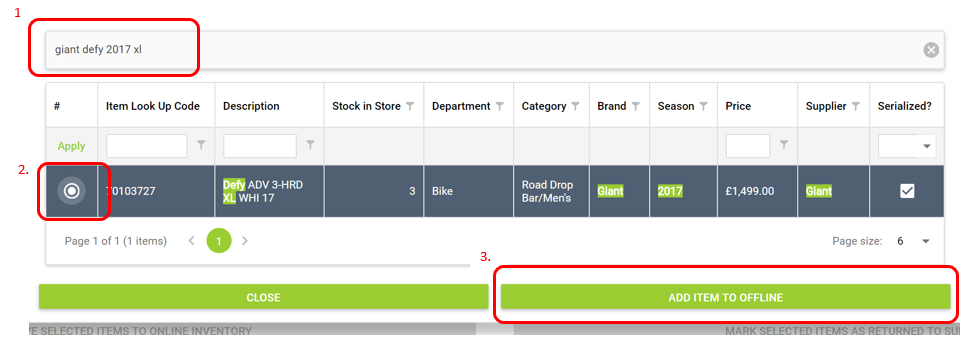
1) Use the search filters or wildcard search to find the item;
2) Tick to select the required item;
3) Click Add Item To Offline:
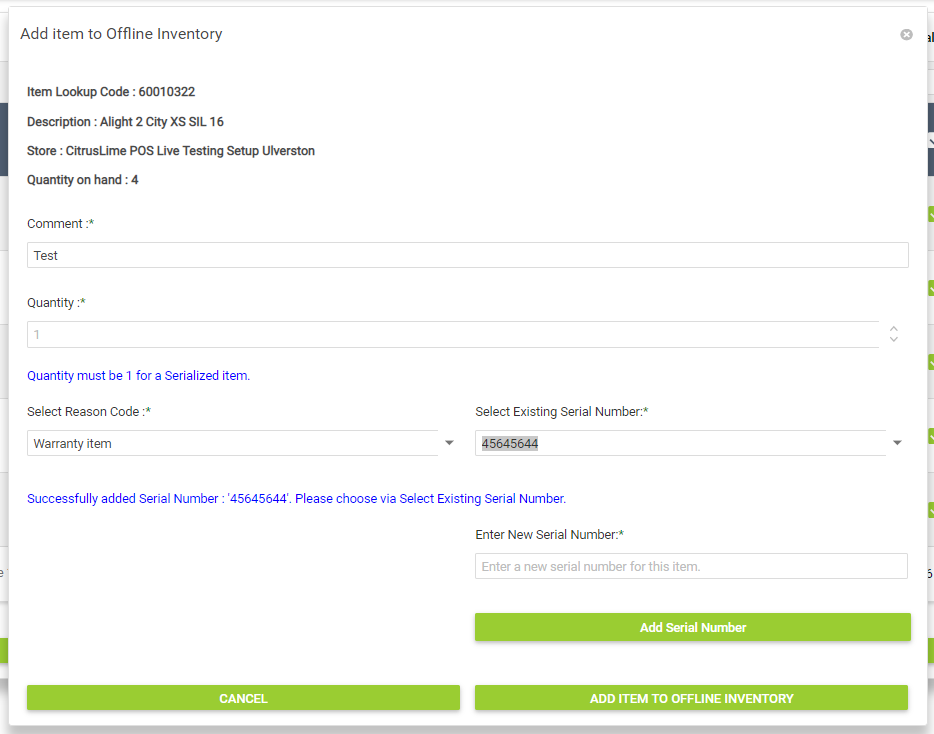
4) Add a comment to your stock move, as this helps review changes in the future;
5) Adjust the quantity you are moving to offline. Serialised items must be done one at a time;
6) Select the reason code. This will display on the Item Movement Report for future reference. Learn about managing reason codes
7) For serialised items, you will need to enter the serial number of the individual product (you can select an existing serial or create a new one);
8) Select Add Item To Offline Inventory to complete the process:
Returning an item to offline at POS
Please see the article on returning an item - Cloud POS - Returning an Item
Moving an item to main inventory, return to a supplier or marking as a demo
When an item is in the offline list, there are three options:
- Move the item back to Main Inventory. This will allow the item to show as available in-store and online;
- Return an item back to the supplier;
- Mark and item as a demo item. This will remove the item from stock completely;
1) Use the filters to find the relevant items:
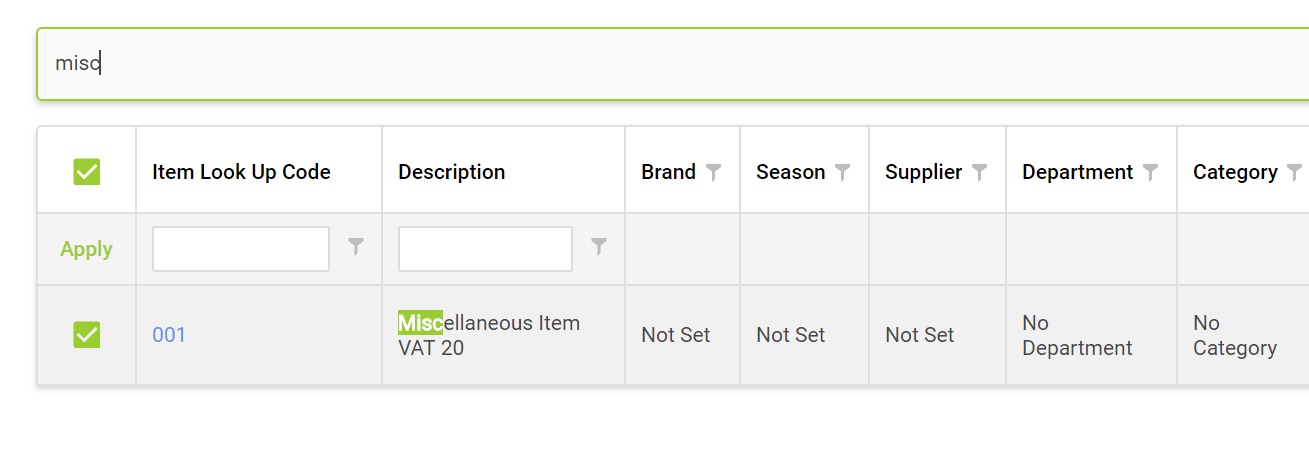
2) Tick to select the item of which you wish to change the status;
3) Choose the option which you would like to apply to the item(s);

For items that have been returned to the supplier, you can create an inbound transfer to receive the goods once they have been fixed / replaced and returned from the supplier:
1) Tick the Show items returned to supplier box and then select the item for which you wish to create an inbound transfer:
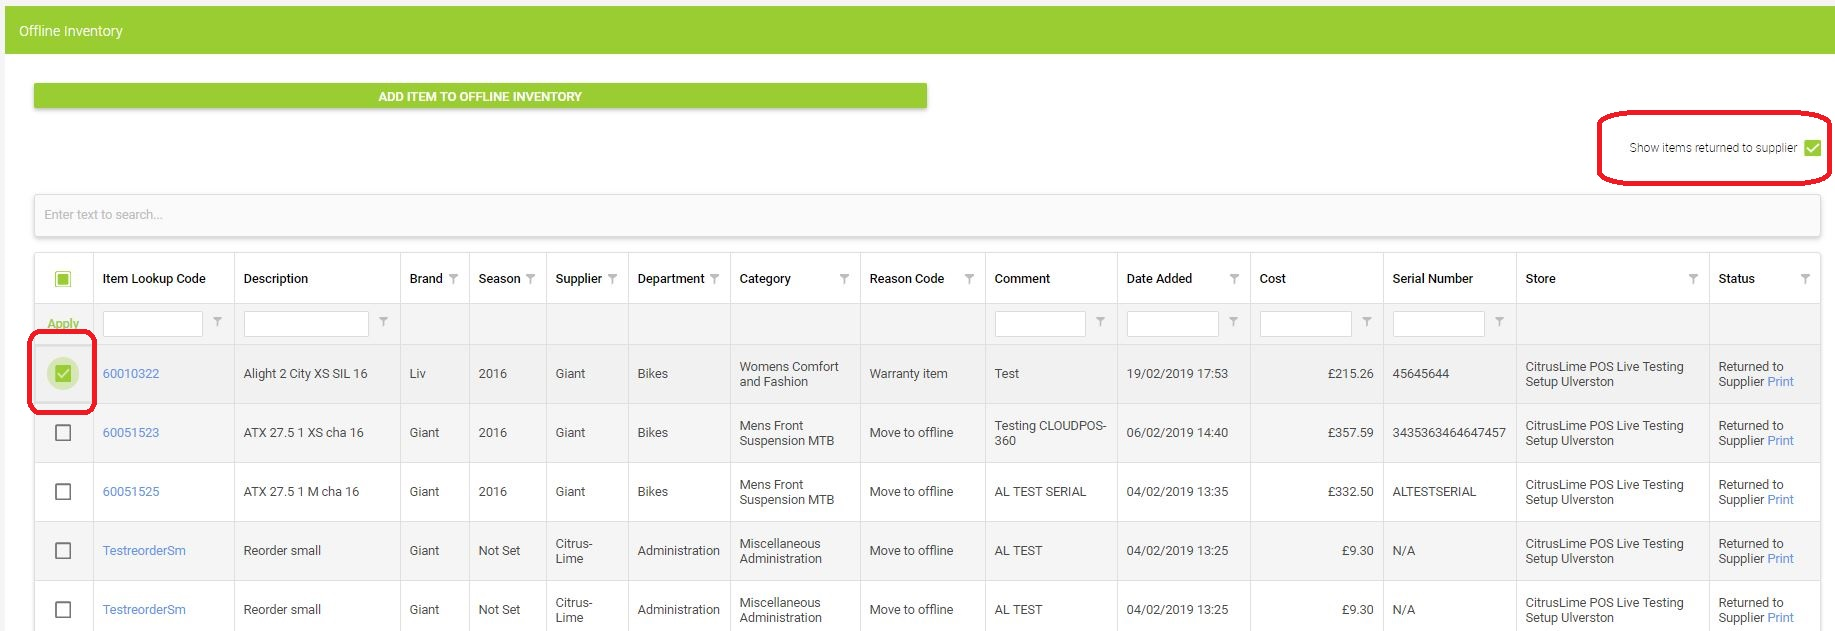
2) Click the Create Inbound Transfer button:
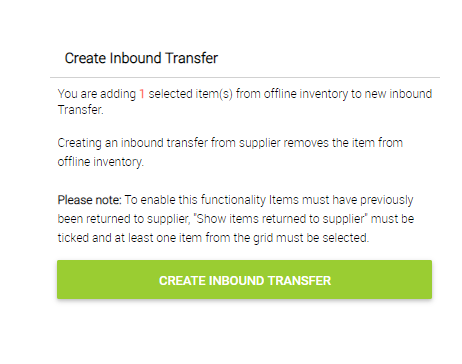
3) You can then see the transfer in has been created by navigating to Transfers:

Accessing the offline inventory from the item card
You can link to the offline inventory from the item card within backoffice by clicking on the Quantity of the product that is assigned to Offline Inventory. You can also use the Move Stock To Offline Inventory button to access the Add Item to Offline Inventory function:

Accessing the offline inventory from the stock enquiry form
You can link to the offline inventory from the stock enquiry form
