Using the Calendar widget is quite straightforward, but there are some handy hints that we can share to help speed up your usage.
Note : In the example below, screenshots are taken from the Calendar widget found on the Customer Record in Cloud POS Backoffice, but the usage is the same wherever you find a Calendar widget within the platform.
Basic Use of the Calendar Widget
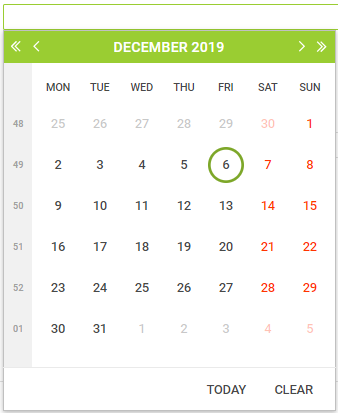
Clicking on the drop-down arrow will reveal the Calendar widget and you simply click on the appropriate day in the calendar to set the date.

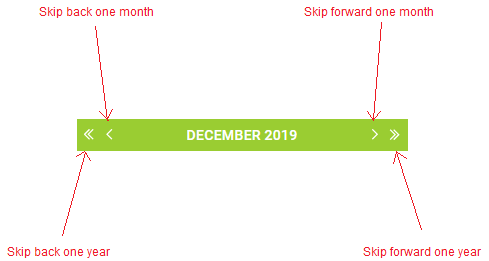
The single and double arrows to the left and right of the Current Month and Year allow you to quickly move forward and backwards in the calendar by either One Full Month or One Full Year :

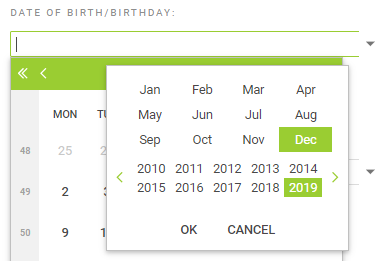
However, you may need to skip back a number of years at a time when setting birthdays, for example. In this instance, Clicking on the Calendar Title will open a new, Quick Select panel displaying the 12 months of a year and a full decade of years.

Using the arrow icons in this window, you can quickly move forwards and backwards in the calendar.
Click on the relevant month and year and then click OK.
The panel will close and the calendar widget will be refreshed to the month and year you selected.
Click the date that you require and this will set the full date.
Direct Type into the drop-down text field
Using the date format of DD/MM/YYYY (eg : 30/01/1979), you can type the specific date you require directly into the text field associated with the drop-down list :
