There are three ways you can add items to a transaction in the Point of Sale.
1. Quick Scan
By default, the cursor in the Cloud POS register sits in the Item scan / quick search field at the top of the page:
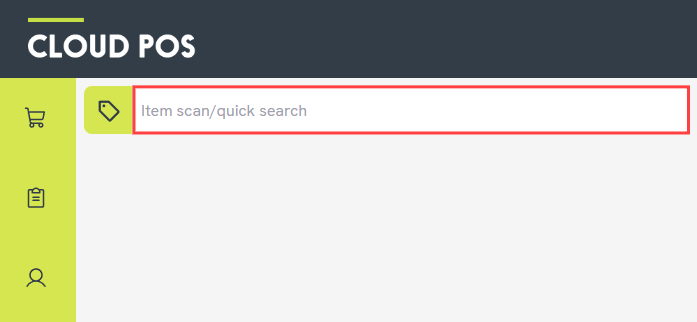
You can use your barcode scanner to scan either a barcode label printed from Cloud POS, or another barcode representing one of the Alias records on the item. The most common example here is a manufacturer barcode (EAN/UPC) printed directly onto the item packaging.
2. Using the Item Lookup Code or Description
You can also use the Item scan / quick search field as a search bar.
You can search for Item Lookup Codes, Descriptions, Supplier Part Codes and Aliases. Both full and partial matches will return results.
As soon as you have typed 4 or more characters, results will begin to appear that match your search, with the results becoming more specific the more you type.
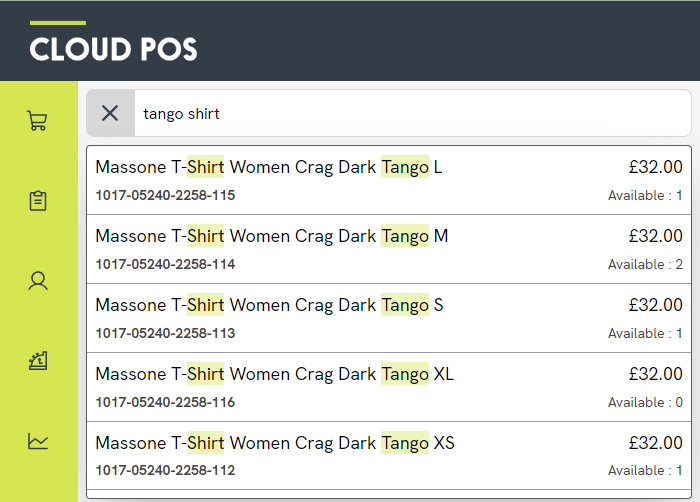
Searching is not case sensitive.
Once you have found the correct item, click on it to add it to the transaction.
3. Search and Select Items
To search your complete Cloud POS item database, click on the Search and Select Items button beside the Item scan / quick search field:
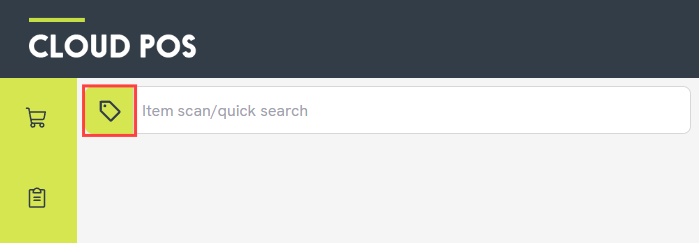
On this page, you have two ways to search. You can search within one or more of the column headers, like so:

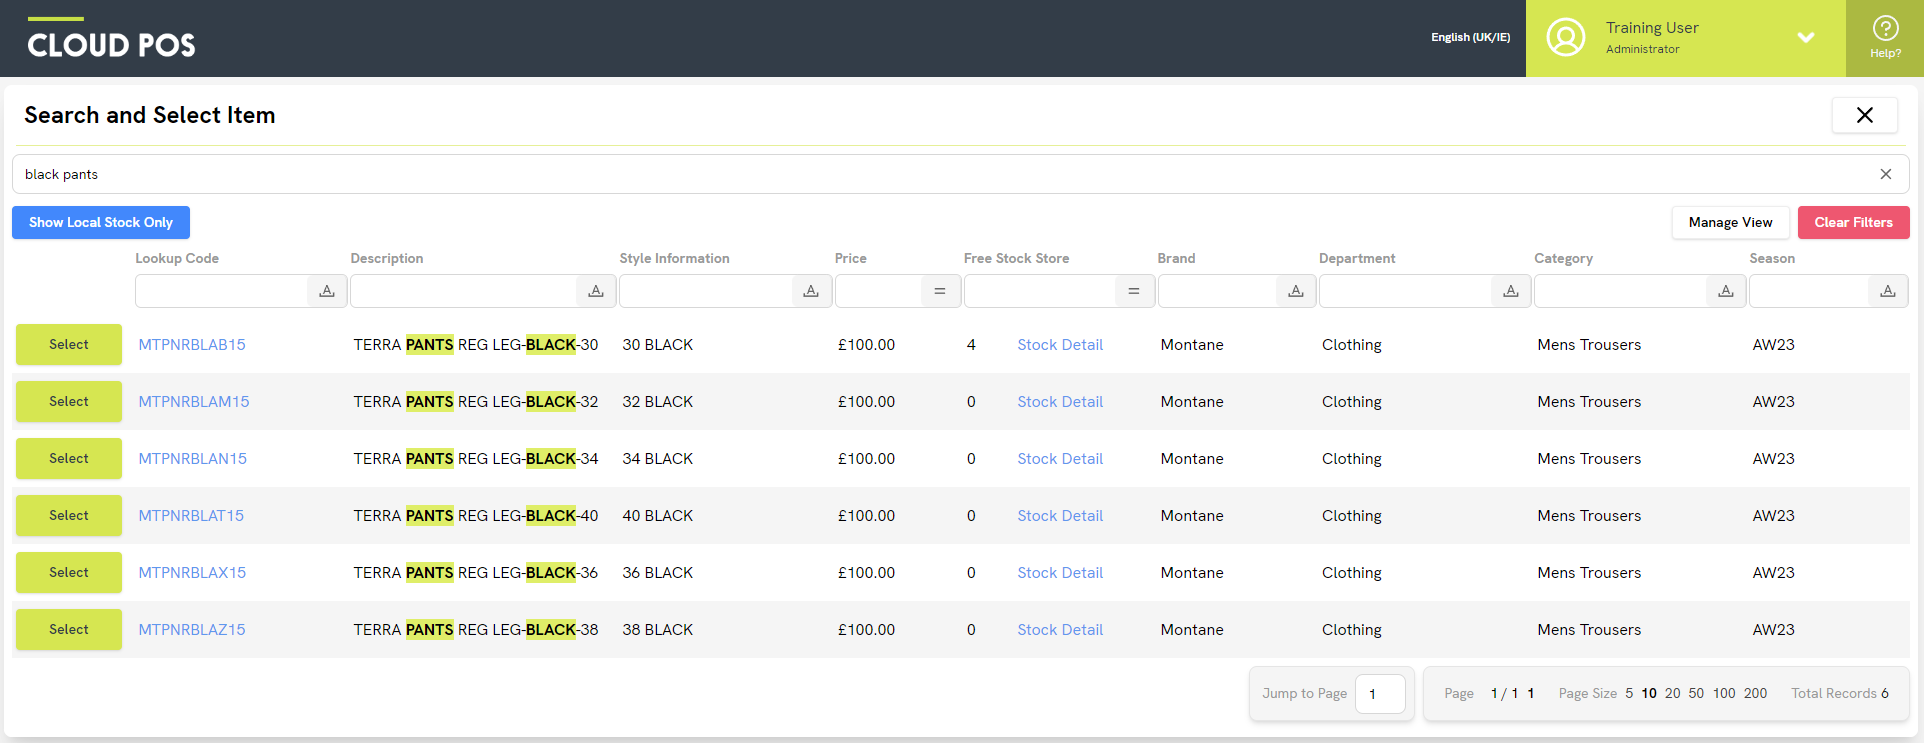
Alternatively, you can use the general search bar above the grid. This search will look for matches and partial matches on both Item Lookup Codes and Descriptions. This search does not require your search words to be correctly ordered, either:
If you have SIM, an additional feature allows you to search within the SIM database for any items which match your search criteria.
Once you've typed your search terms, you'll see a Search SIM for ‘….’ button, where your search terms fill in the blank, for example:
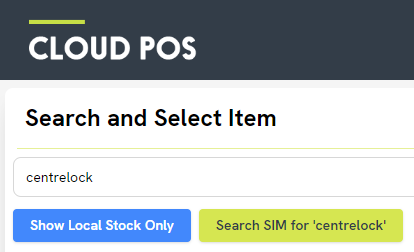
Clicking the button will return any items which are available in SIM but do not already exist in your database:

From this page, you can use the grid filters to further refine your search:

Click the Import button next to an item you would like to import into your database. You'll then need to set the department and category into which you want the item to be assigned.
Start typing a department or category name in this field, select the correct one from the results returned, and click Import.

When the import is complete, you'll see a message advising as such:

Within the standard search, you can also use the Show Local Stock Only button to only return results for items that are available at your current location.
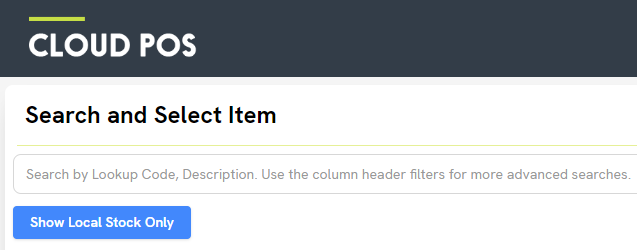
Once you have found the correct item, use the green Select button on the left (or double click the row in the grid) to add the item to your transaction.
You can only select one item at a time, so you'll need to repeat any of the above methods to add further items to the transaction.
Updating item quantities
Once you have added an item to a transaction using any of the above methods, you'll have the option to manually adjust the quantities of an item using the buttons on the item line.

Frequently Asked Questions
Can inactive items be added to transactions?
Yes, but you will see a warning, like so:

Can I search using the matrix parent code?
Yes. If you enter a matrix parent code into the item scan / quick search field, and hit Enter, you will see the child items that belong to that matrix group. You can then select an item to add to your transaction. For example:
