Commodity codes (also known as harmonised codes) for customs items need to be sent electronically. Commodity codes can be added within item records in the Cloud POS Back Office or within the Point of Sale.
If you regularly ship orders internationally, it is a good idea to preset the commodity codes on your items. This will speed up your despatching process in the Point of Sale. Alternatively, if you do not regularly ship your items abroad, you may find it easier to just enter the commodity codes in the Point of Sale as and when you need them.
Adding the commodity code in the Cloud POS Back Office
There are three ways to set commodity codes on items from in the Cloud POS Back Office.
Firstly, the commodity code can be added to the Item Import template, when using this method to create items in the database. Please refer to the related article for guidance on using the Item Import Tool.
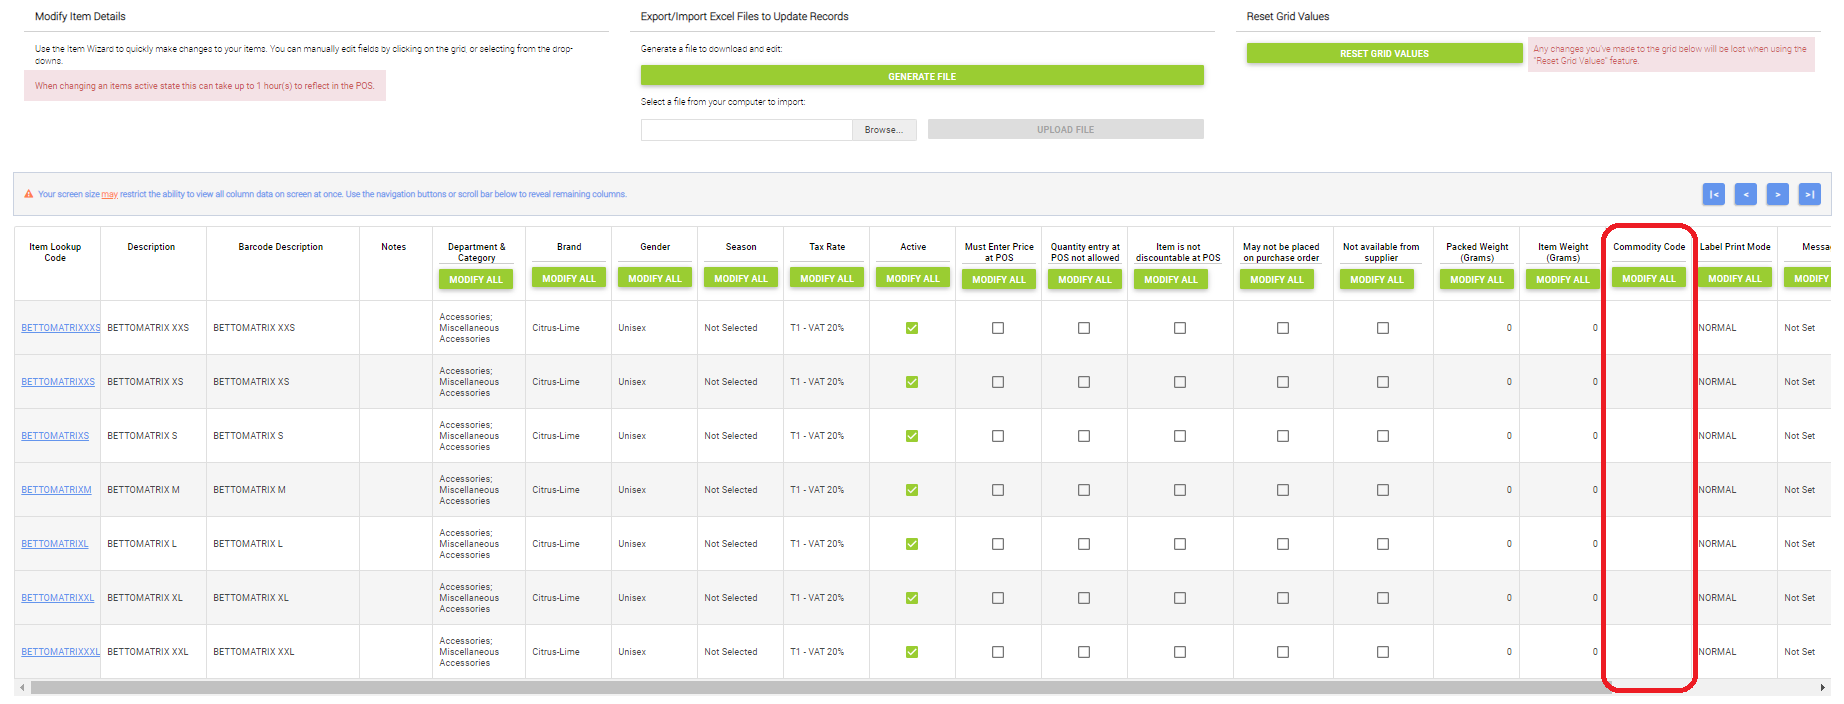
Secondly, commodity codes can be added to existing items in bulk by using the Modify Item Detail Wizard:

Finally, you can add a commodity code to an individual item. Open the item record and select the Advanced tab, then scroll to the Shipping section:


Adding the commodity code within the Point of Sale
1) First, you will need to recall the order and scan or select the item(s) for pick-up.
2) In the Print Label window, either choose Buy Preselected Service (to create a shipping label for the service the customer pre-selected online) or choose Upload to select an alternative service and then Buy Label.
3) If one or more of the items you have selected for Pickup do not have commodity codes entered in the Back Office, you will be automatically taken to the Customs Information tab:

4) To enter the required commodity codes, click Edit Data:

5) A field will then appear so that you can enter the commodity code for each item:

6) To save, click Finish Editing.
7) Click Continue and Book Service to generate the label:

You will then be taken to the Summary tab. Here you can see a preview of the label that has been created. This label should automatically print from the courier label printer provided to you by Citrus-Lime. If this does not happen, please refer to this article.
7) Click Open Customs Form to open the paperwork that has been generated, so that you can print this and attach it to the parcel. (Please note that not all international services will require a customs form, so this button may be inactive.)
On the Summary tab, you can also click ‘Open Tracking Website’ to view the tracking link for your shipment on the relevant courier's website. You can also click ‘Open Label’ if you need to view the label full-size in a new tab of your browser.

Here is an example customs form. The layout and contents will vary depending on the courier. For example, on this Royal Mail form, the commodity code is referred to as the ‘HS Tariff No’.

Frequently Asked Questions
How do I send the tracking information to my customer?
Citrus-Lime can automatically send the tracking information to your customer when you book a tracked service. This applies for domestic and international services.
This email will be sent as soon as you generate the label in the Point of Sale. It contains a tracking link, tracking number and the name of the courier and service used.
If you do not currently have this set up, please contact the Citrus-Lime Support Team via phone or Live Chat, and they will be happy to sort this for you.
Why did I not see the Customs Information tab when generating my label?
If you have already entered the commodity codes for your items in the Cloud POS Back Office, you will skip this step and be taken straight to the Summary screen.
Where can I find the commodity codes for my items?
These are generally available from an online search. For example, the UK government provide a lookup tool here: https://www.gov.uk/trade-tariff.