The short answer to this question is no, you cannot convert a standard item to a matrix item. However, it is possible to add existing standard items into a matrix item.
This option is useful if you have standard items in the database which you have determined would be better suited grouped together within a matrix.
In the example below, we have three standard items which we have decided should be grouped within a matrix:

The first step is to create the matrix parent to which we will add our existing child items. If you already have an existing matrix to which you would like to add the items, you can skip to Step 5 in these instructions.
Creating a Matrix parent
1) From the main menu in Cloud POS backoffice, navigate to Create & Manage Items, then Items;
2) Select Create New Item. From the drop-down menu, select Matrix and then hit Create;
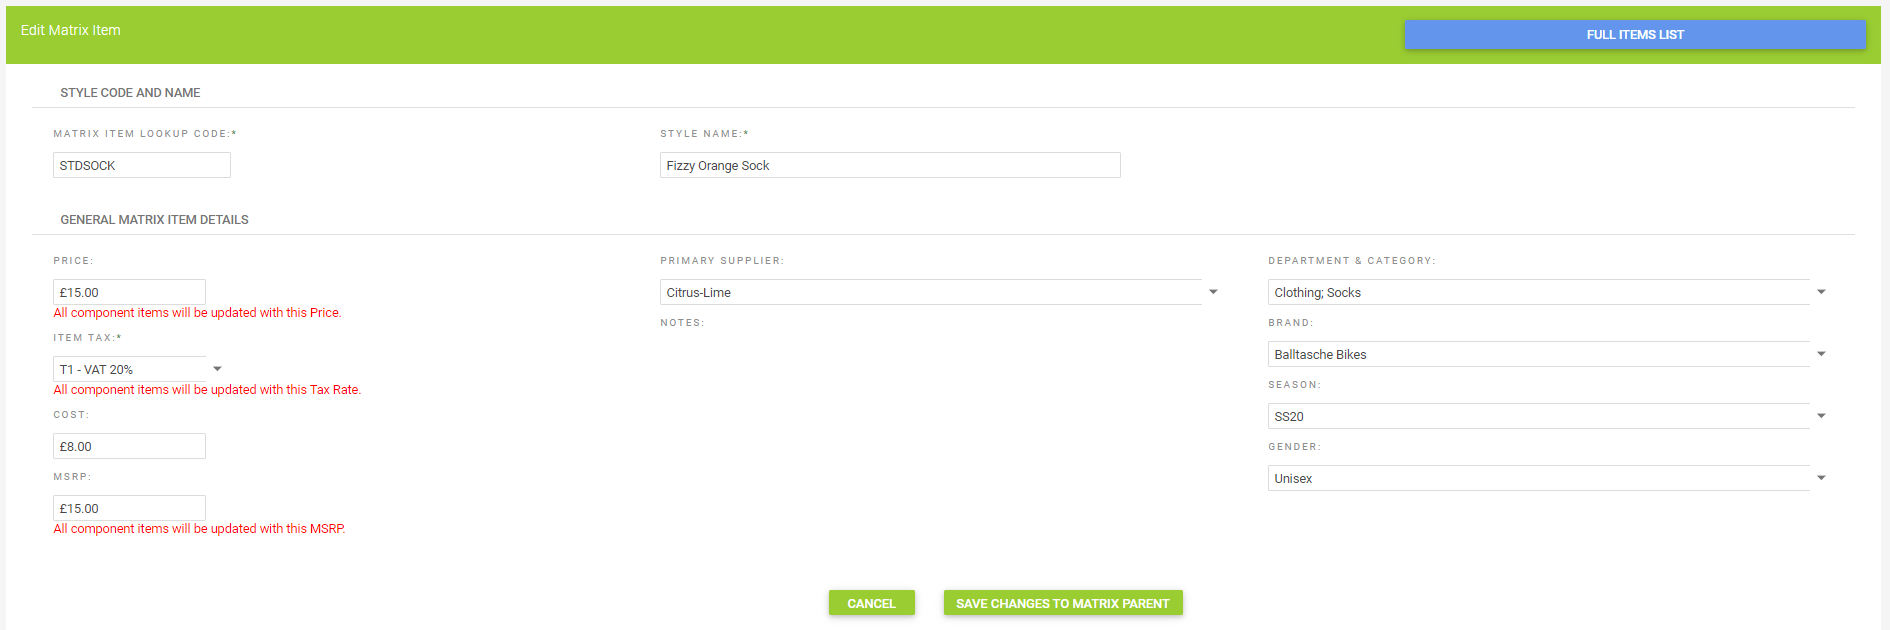
3) Here, you will create the Matrix parent. This is the part of the product that groups the child items together.
For ease of identification, the name and code of the matrix parent should be terms that are applicable to all of the items within the matrix. In our example, the item lookup code of each of our standard items begins 'STDSOCK', so this would be a suitable lookup code to give to our matrix parent, and 'Fizzy Orange Sock' would serve well as the name.
Ensure you complete the remaining details on this page to match those of your existing standard items (Department and Category, Brand, etc.)

4) Click Save Changes To Matrix Parent once you have completed all the details on this page.
Adding the existing items to the matrix
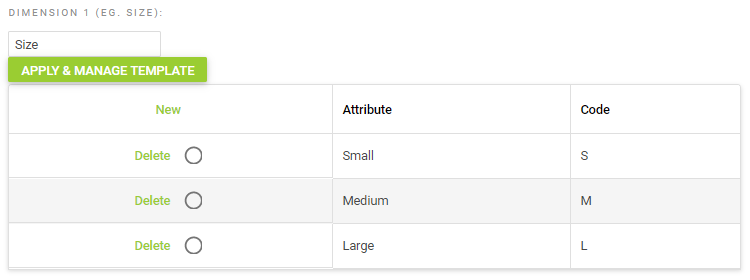
5) Once the matrix parent exists, scroll down to the Add Dimensions & Create or Manage Matrix Items section. You now need to create the appropriate dimension for the matrix. In our example, this will be as below:

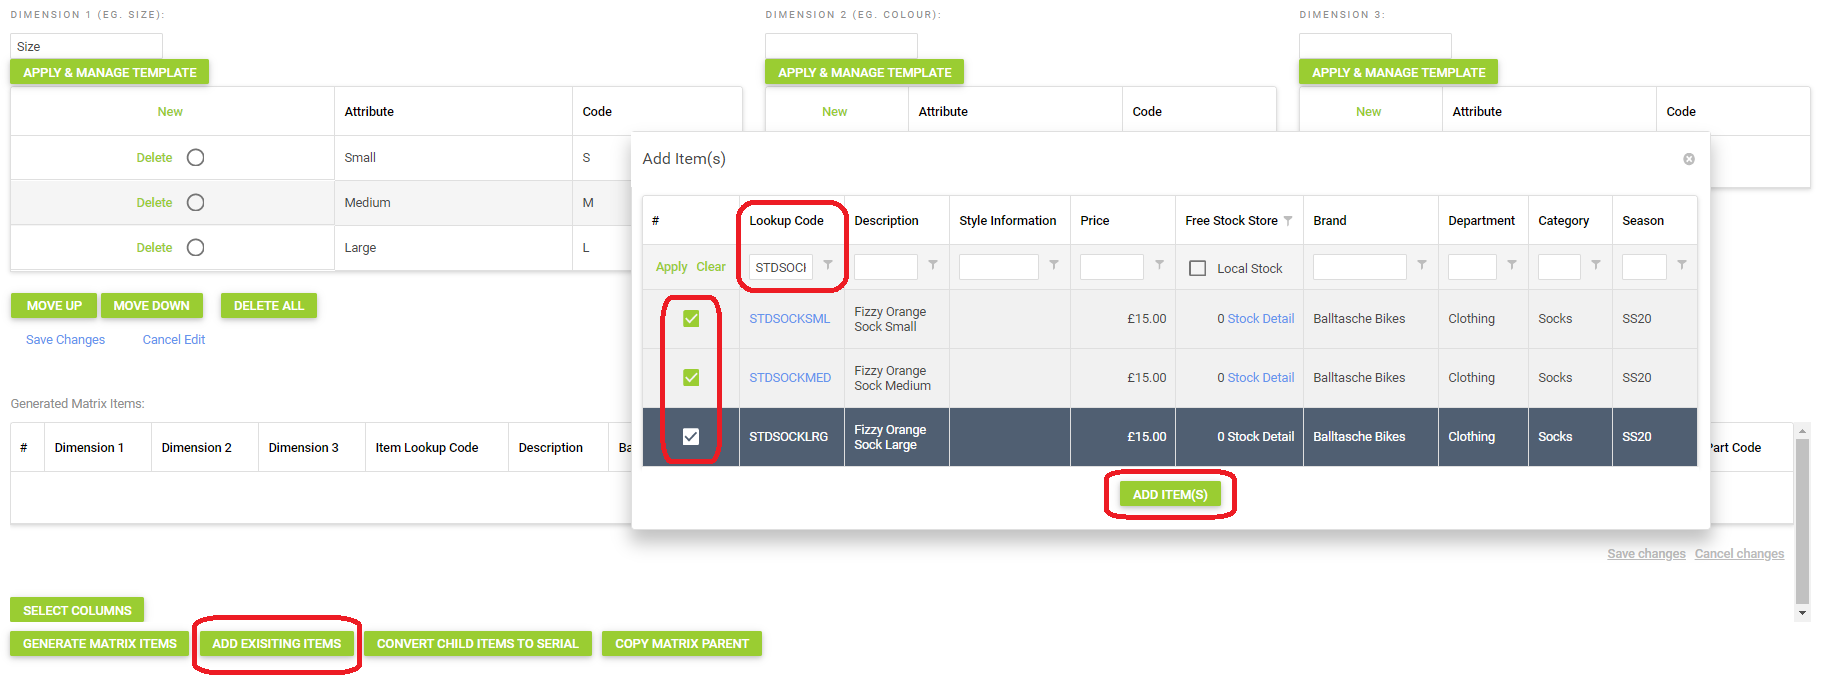
6) You now need to click on the Add Existing Items button in order to search for the items you want to add to the matrix:

7) As in the screenshot above, tick the box on the left hand side of each search result you wish to add to the matrix, then click Add Items;
8) You now need to ensure you set the correct dimensions against the products. Click into the Dimension 1 field and select the appropriate dimension option from the dropdown menu. Click Save Changes once complete.

9) Once you have saved your changes, scroll to the bottom of the page and click the Save and Update all Component Items button.
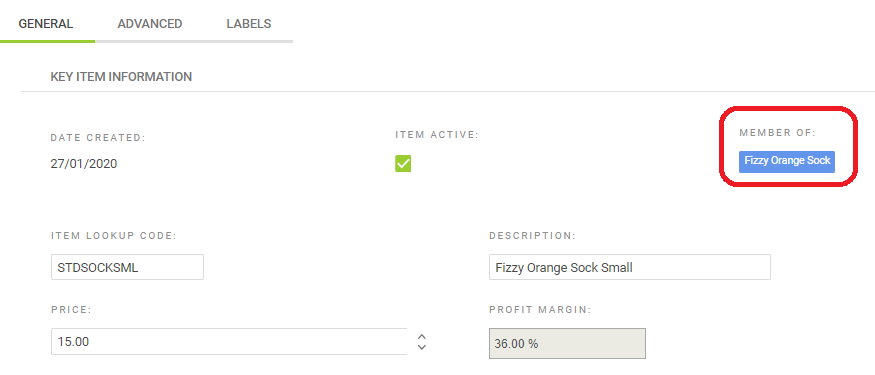
10) The standard items will now be grouped together under the matrix parent you created at the start of the process.
