This article describes the best practice for making sure you are adding customers correctly, without duplicating accounts.
It's worthwhile trying to add a customer to every transaction where possible. Not only does this give you greater traceability of who bought what, but it also allows you to grow your customer list, which you may then choose to use for marketing purposes.
Obviously, some customers may be reluctant to provide their details, but you can explain that taking a few basic details will help to speed up any future transactions they may make. If you offer a Customer Rewards scheme, customers will need to provide their details in order to take advantage of that.
Has the customer shopped with you before?
Ask the customer if they have shopped with you before. If they say yes, click on the Set Customer button, as shown in the image below.

This will take you to the Search and Select Customer screen.
Ask the customer for their postcode to search for them in the list.

If you cannot find the customer within this selection, you can be relatively sure that it is ok to go ahead and click Create New Customer.
In the following screen, complete the required fields. The only field that is mandatory is the Last Name, but we advise that you try and get the full details from the customer, including the email address. Without the email address, the customer cannot receive eReceipts, workshop notifications and their Customer Rewards account will not be linked.
GDPR Consent - Ask if the customer gives their consent for their email address to be used for email marketing and tick/untick this field as instructed.
Click Create New Customer.
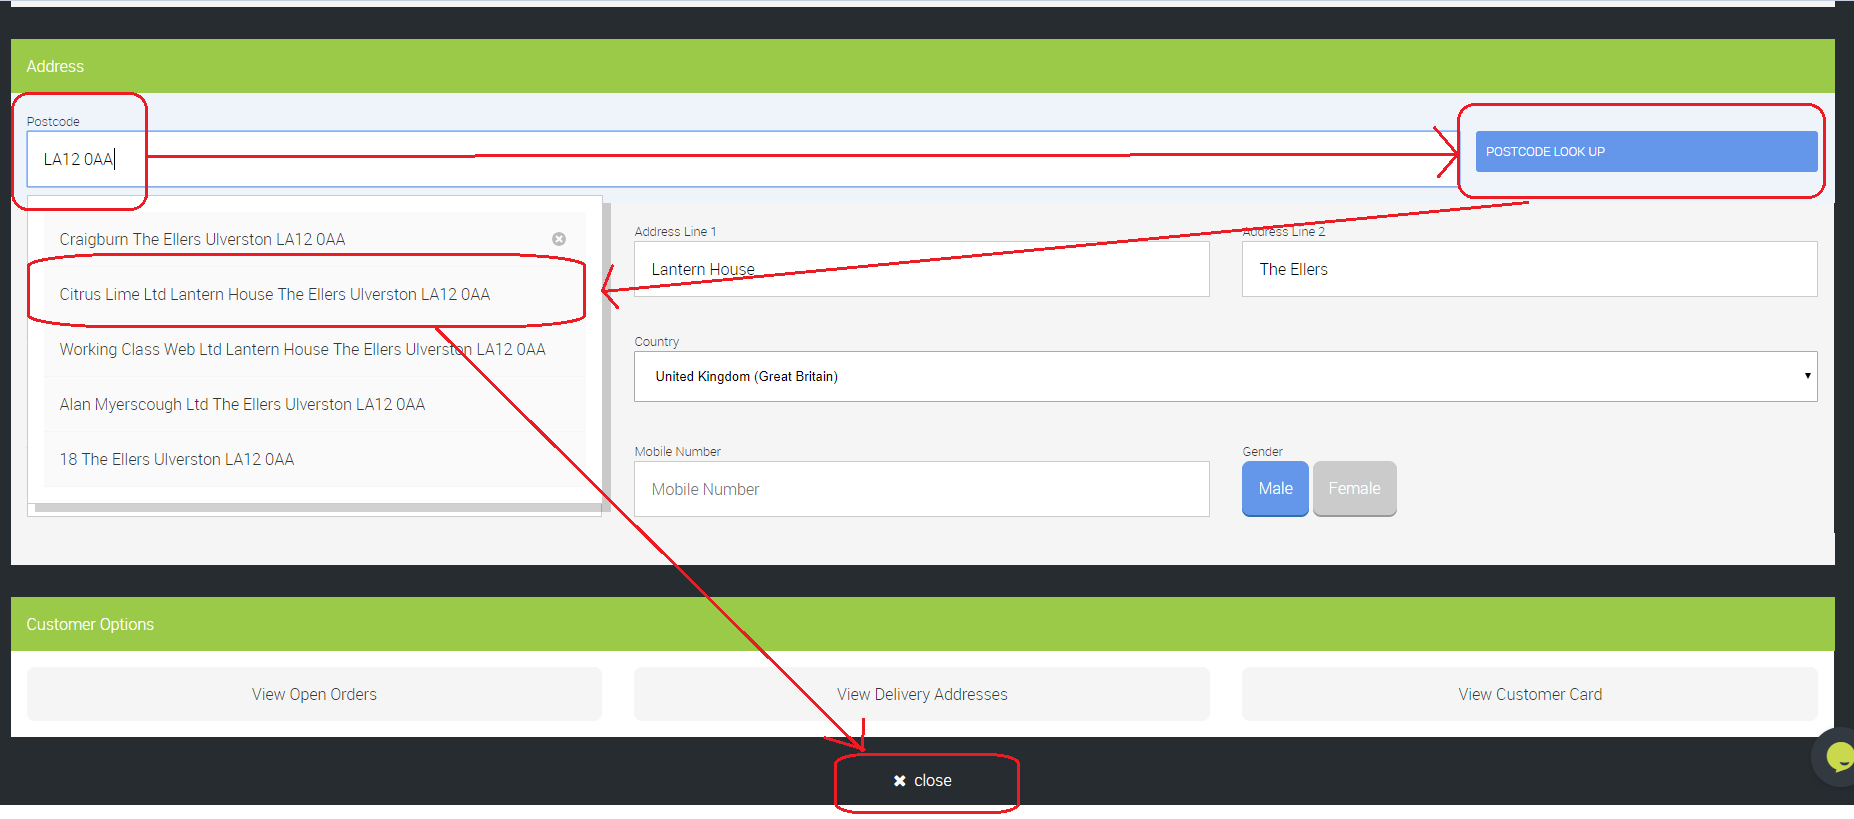
The next screen allows you to get further information from the customer, such as their contact telephone number and address.
We'd recommend that as a minimum, you try to get the customer's postcode and house name/number.
It is also a good idea to obtain their contact number. This will be especially important if the customer has workshop jobs and you need to contact them.
When you've collected the details, click Close and this will save the information.
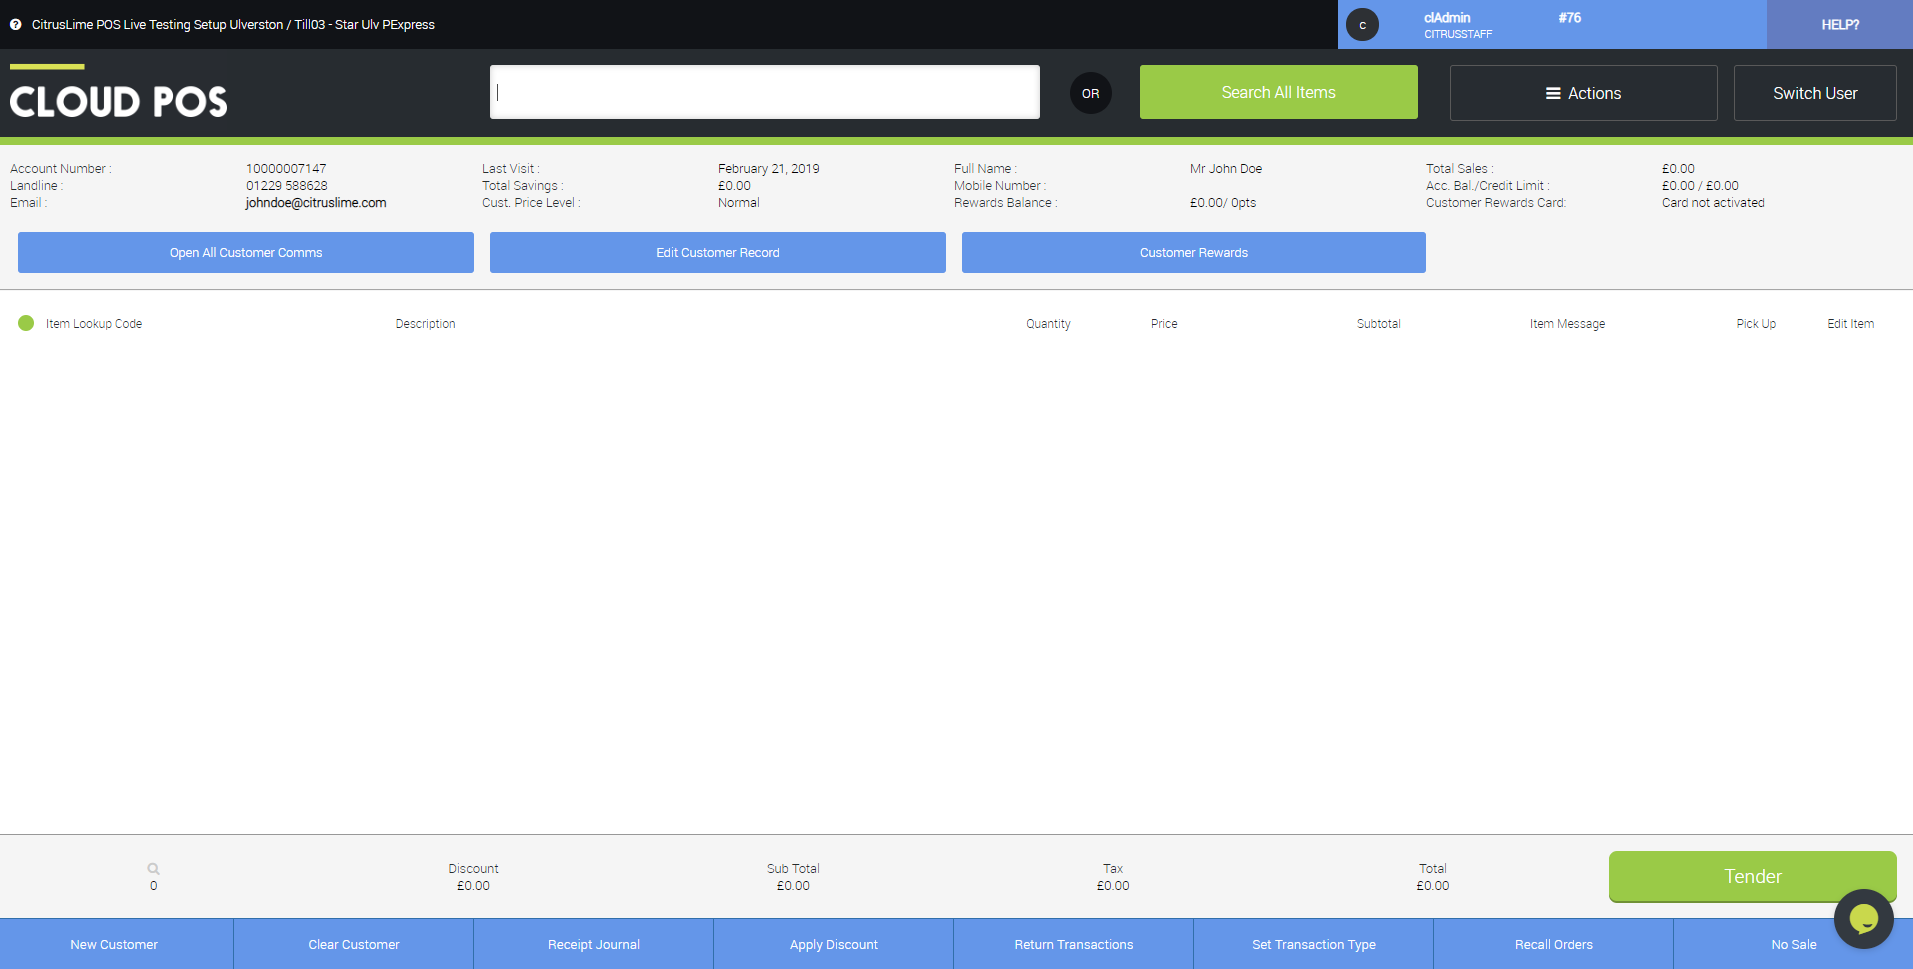
Once you are back in the Point of Sale screen, you will see that the customer is now assigned to the transaction:
Watch A Video:


